NFC technology
The Near Field Communication (NFC) technology allows us to wirelessly transfer data between two devices that are less than 4 cm apart. Our phone has an electronic reader which reads the data stored on NFC tags.
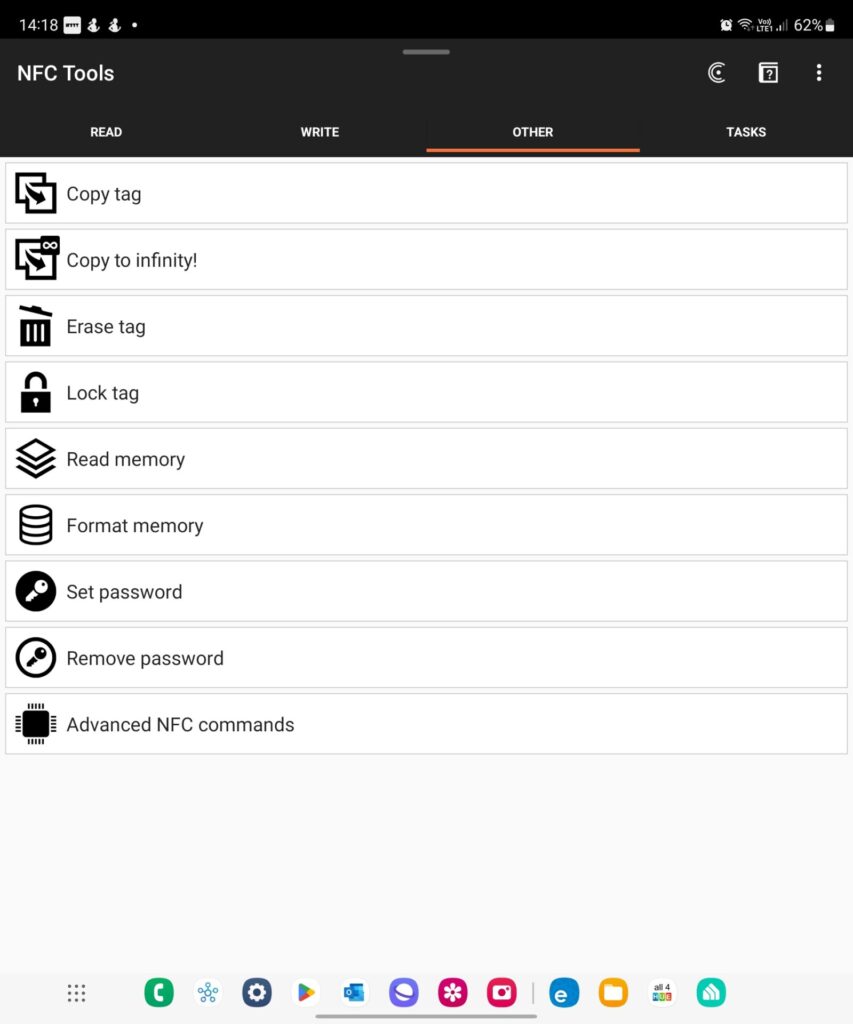
We first need to download the NFC Tools app, which is available on Google Play free of charge. We use it to perform basic operations, such as Read, Write, Format, Erase or Copy NFC tags, from the horizontal menu clicking (Figure 1):
- Other.
- Figure 1. The NFC Tools app used for formatting, erasing, etc., NFC tags.
NFC tags: the cheap switch
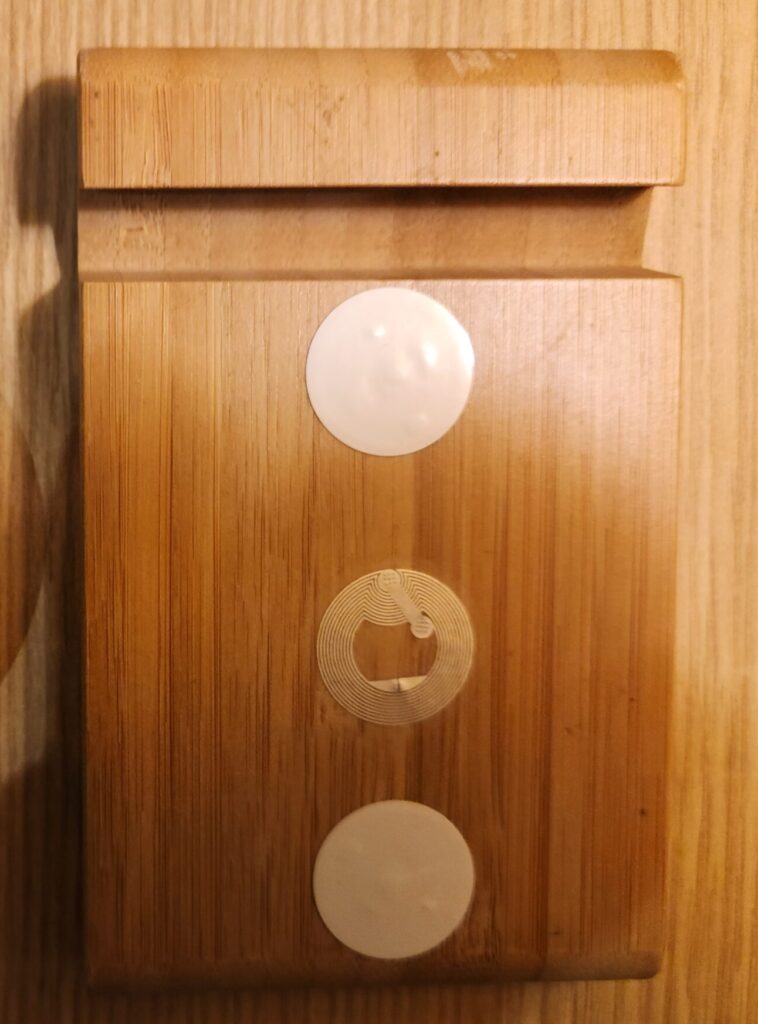
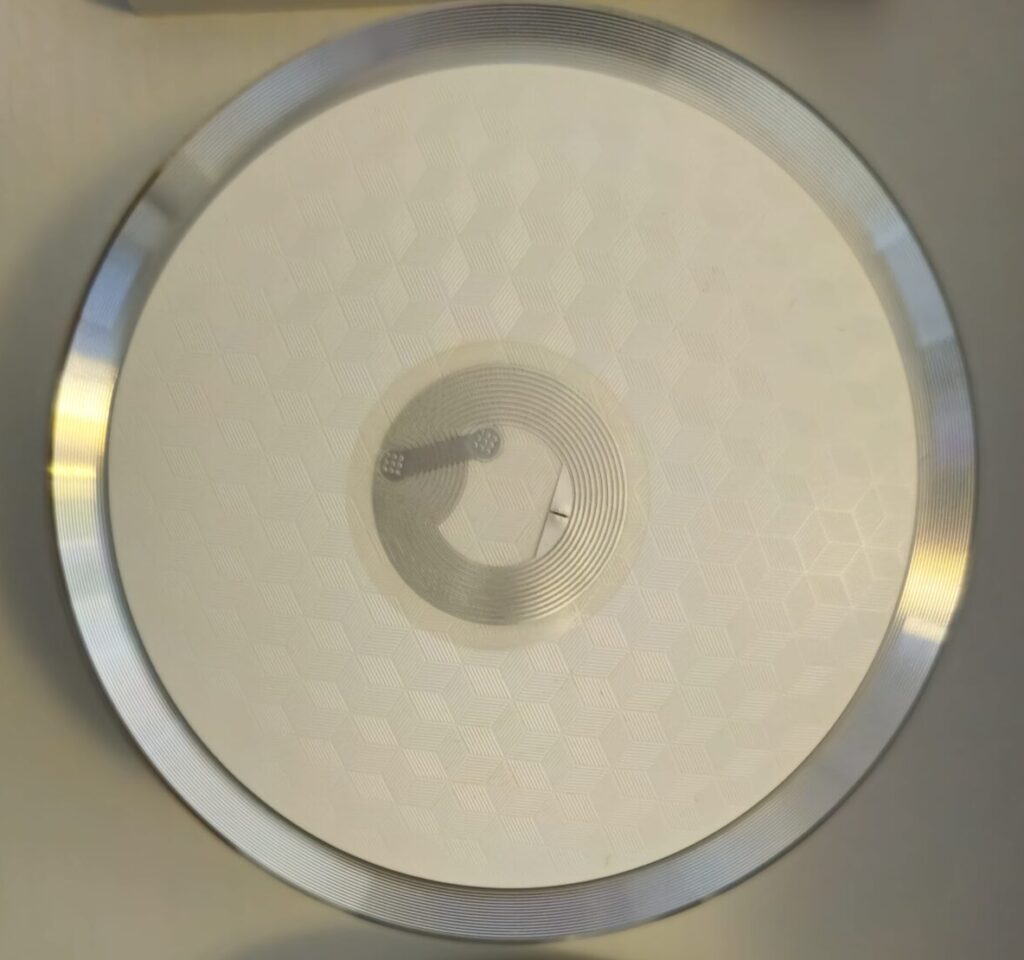
NFC tags are very handy accessories. They are tiny, unobtrusive, need no battery and are very cheap, about 10-20 cents each. You can stick them (Figure 2) on or under any surface or object that is less than 4 cm thick, behind the old switches, etc, inside and outside the house.
- Figure 2(a). NFC tags controlling bedroom lights.
- Figure 2(b). NFC tag turning all lights off.
I will discuss NFC tags in relation to smart home platforms (i.e., Alexa, Google Home, Smartthings, Apple Homekit, Bixby routines for Samsung phones) for home theater applications in a future post.
In this post I only discuss the apps of smart lighting brands that directly use NFC tags as a switch.
eWeLink and SwitchBot are among the brands that make direct use of NFC tags in their smart apps. Other brands, such as Ikea Tradfri, Nanoleaf, Meross, Govee, VeSync, Gosund and Lifx do not make direct use of NFC tags in their apps. The same is also true of the Tuya/Smartlife app, which accommodates various smart light products. NFC tags can interact with Philips Hue lights using an independent free app.
NFC tags and Hue
NFC tag is an excellent cheap Hue switch when used with the hueSwitch NFC app, which is available for free on Google Play.
After the installation of the app we must register our Hue bridge. As always, we do this by pressing its middle button. Consequently, all lights connected to the bridge become available to the hueSwitch NFC app.
Then for each light we select the desired NFC-triggered action:
- Switch on
- Switch off
- Switch on/off
- Switch color.
We then select ‘write’ from the upper right corner. The app asks us to put the phone over an empty NFC tag. We put the empty tag, and the app notifies us that the data was stored on the tag successfully.
There you go. Whenever we put the phone over the NFC tag the desired light(s) behaves according to the selection made.
The only drawback of the hueSwitch NFC app is that it uses one Hue bridge at a time as active. Thus, the tags connected with the lights of the non active bridge are not functional until this bridge becomes active.
NFC tags and SwitchBot
SwitchBot also uses NFC tags in automation to turn on or off its bots (and other devices), which are used to turn on and off lights. From the home page of the SwitchBot app we select:
- Automation
then we click add ‘+’. For:
- When (i.e., this happens)
we click:
- Add condition
and select
- NFC tag.
We go back and for
- Then
we click:
- Add action (i.e., device to respond to When)
and we select the smart device(s) we want to control with the NFC tag.
NFC tags and eWelink
The eWeLink app also provides an option for using NFC tags to turn on or off Sonoff lights/plugs and/or scenes. Firstly, we must click:
- Profile
at the lower right corner of the app. Then we click:
- Pilot features
and turn on the option:
- NFC.
Consequently, the process of using NFC tags to turn on ‘things’ is similar to the SwitchBot one. However, this option is still at the pilot stage.


0 Comments